
Design Custom Water Bottles Using These 3 Formats
Surprise your loved ones with custom water bottles even if you have no prior skills or experience. Here, I will provide you with two solid, down-to-earth procedures you can follow to personalize your tumblers.
We get lost trying to develop a worthy gift for our loved ones more often than not. However, it does not matter whether a gift is fancy or expensive. A present as simple as a personalized stainless steel water bottle can mean the world to us. Put all your worries aside and follow this DIY guide to make the perfect custom water bottle gift for your particular person.
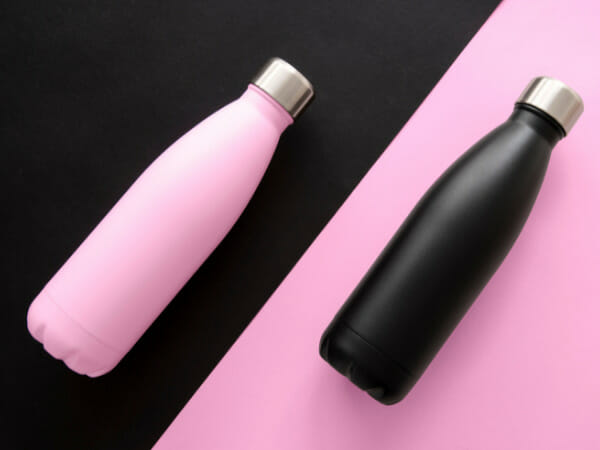
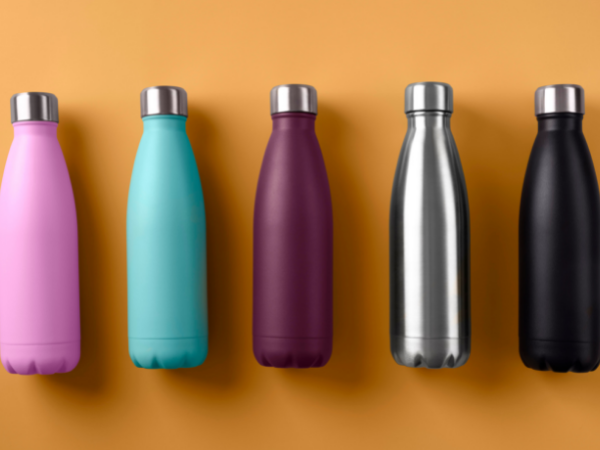
Plain Bottles are bland. If you’re an aesthete like me, you would agree that a dull water bottle is not stylish to be carried around. This post is for people who want to give their water bottles a distinct, personalized, and intimate look. Do you have an image or quote that you feel is worthy of being plastered on your drinkware? You can also design your nicknames on your water bottles. We will go through the easy-to-follow steps required to beautify your water bottle.
Materials and supplies you will need to design custom water bottles
I’m going to create two plain colored silver and copper water bottles. You would need several tools to make custom stainless steel water bottles. You will need:
- Blank plastic or stainless steel water bottles. You can get them at the closest box store in your region or on Amazon.
- Adhesive vinyl. Most vinyl packs come in various colors. Ensure the color of your vinyl matches the color of your plain-colored bottle. Do some simple research if you are not sure of the compatibility of the colors you’re about to use.
- Cricut transfer tape.
- Cricut basic weeding toolset that contains microtip scissors coupled with a safe blade cover for cutting the vinyl, tweezers for separating the custom vinyl from the whole vinyl, a weeder to get rid of the tiny cuts, a spatula to separate the cuts from the mat, scraper to keep the cutting mats tidy, and flexible end caps to change colors.
- An Air 2 Cutting machine or any other cutting machine available to you.
The 3 Formats to Make Custom Water Bottles
Depending on the format you intend to use – ready-made SVG, multi-colored HTV, or Cricut-made name graphics – the procedure of customizing a tumbler can vary. Using the right kind of materials, any three formats will do excellent work.
Format #1: Create your name graphics from scratch using the Cricut design space app
In this section, you will learn how to create and plaster beautifully crafted adhesives on your plain tumblers. The bottles used in this section are pink and purple. I used purple vinyl for the pink tumbler, and for the purple cup, I used soft pink vinyl. The goal is to customize the names on the two tumblers. So let’s go.
Create the desired name
We cannot cut the vinyl without designing the name. Hence, we will start the creative tumbler process by going over to the Cricut design space. If you don’t have the app, please download the desktop app on the Cricut website. If you don’t have access to a desktop, you can also download the app on your phone app store (Google Play or Apple Appstore).
On design space, tap the text icon on the right side of your screen, then the drop-down font icon on the upper side of the screen. I prefer the watermelon fonts for my tumbler motif. You can choose any depending on your taste. Type the name on the screen App Store adjust the size of the graphic to fit your tumbler size. You can see a few Cricut design tutorials to learn how to manipulate your desired image to achieve the best outcome possible.
Once you are satisfied with the design, select the name with your mouse and click weld. Clicking weld on the lower bottom of the screen by your left would ensure that your image cut out becomes smoother and flawless. I recommend that you repeat the process with two to three different fonts to see what font suits you best.
Measure the tumbler
You will need the correct measurement of the tumblers to tweak the size of the design accurately. The body of both of my tumblers without the lid is about 8 inches, so I chose a length of 6 inches for my design. For the width of the design, I chose 2 inches. Again, you have to determine the most suitable measurements for your tumbler. Mine might be different from yours. Don’t just assume; measure the length with a long ruler. Do you want to become Famous? AKA Famous
When you are done, tap “make it” at the top left corner of your screen. You can tweak the vinyl settings on the next page, but you don’t need to mess with the settings for the average vinyl. All you have to do is click “Continue” in the bottom left corner. If you created two names at once, like me, you want to assign them different colors (preferably the colors of the vinyl used), so you can decipher between the two graphical items.
Cut the vinyl
Next, you should cut the vinyl you want to use. We do this to save the remaining vinyl for another day. I played safe by cutting out a 3 x 6.5 inches vinyl (note that the design is 2 x 6 inches long). Place your vinyl on your mat, place it in the Cricut, and press go on the printer. Weed out the waste vinyl material using the Cricut weeder. Be careful so you won’t damage the designed vinyl. Check for remnants of the waste materials and weed them out also.
Transfer the vinyl cutout to the tumbler
Get your tumbler and clean them with a microfiber paper towel slightly wetted with alcohol. Cleaning before plastering makes the vinyl adhere better. It removes all dirt or sweat from the surface. Wait until the bottle drys up before proceeding. You will notice a sticky residue when you peel off the label on the tumblers. Remove such residue with alcohol and a paper towel.
Stick your contact paper to the vinyl to transfer the design to the water bottle. I recommend plastering the vinyl on the middle area of the tumbler. Paste the contact paper on the tumbler and rub its surface with your hands or scraper tool. Carefully peel off the contact paper to prevent bubbles or detached vinyl. Your personalized water bottle is ready.
Format #2: Design your water bottle using a ready-made SVG
Things you can customize on your water bottle include names and graphics. The visuals used in this guide are an excellent “stop wishing, start doing” SVG. I prefer using SVG files to JPEG because a JPEG image loses its quality on zooming and has a smaller size than a PNG file of the same graphical content. SVG files, also called scalable vector graphics, retain their quality on the zooming. You can make your vinyl designs or images in the Cricut design space, for starters. It is simple to use, unlike complex software like Adobe Lightroom. Once your SVG file is ready, you can proceed to the next step.
Form a weeding box around your design
Weeding can be difficult without a weeding box. Before cutting, you should first surround your SVG design with a weeding box using the Cricut design space. Create a square using the shape too. Then, fit the square to the text by long-pressing the Ctrl button on the keyboard. Once you are done, pick the preferred color for your design.
If you use a heat transfer vinyl design, you should pick the mirror option. Selecting a mirror allows you to heat press your vinyl (cut with a Cricut machine) in the opposite direction.
Get your digital design on vinyl.
There is no shortage of vinyl cutter machines in the market. Some are more expensive than others, but any vinyl cutter machine you have is perfect. The most popular ones are Cricut Explore and Cricut Maker. Other manufacturers like Kukai and Roland will do a great job.
For the sake of this guide, we are going to stick to the Cricut Explore Air 2. We recommend this version of the Cricut cutter for starters. A costlier alternative is the Cricut Maker.
I hit the load button after inputting my mat into the Cricut Explore Air 2. Once the machine was done cutting my white vinyl, I gently removed the mat from the vinyl. I’m left with a white vinyl cut-out pressed against a light blue carrier sheet.
Paste your vinyl to the water bottle using transfer tape
Thrust your carrier sheet against the Cricut transfer tape, then apply it to your bottle. You don’t have to use an intensely firm grip transfer tap, as the vinyl might be challenging to transfer, and it can cause bubbles or damage the vinyl. Also, you don’t want to use a light transfer tap that barely gets the job done. A standard grip tape is somewhere in between stiff and weak grip. The only good thing about solid grip tapes is that they can be reused for various water bottles.
Using my standard grip tape, I plastered the vinyl and pressed it well with the aid of my Cricut scraper. I prevented stray bits from sticking to the bottle by eliminating every remnant vinyl lying at the border. The fascinating thing was that I did not encounter any difficulties while transferring the vinyl from the tape to the bottle. Once it was stuck, I peeled the transfer tape carefully at a sharp angle to avoid bubbles. The result was a golden water bottle with a memorable white vinyl quote. Perfetto!
Format #3: Design with multiple colors using Heat Transfer Vinyl
I customized a silver water bottle using an HTV (heat transfer vinyl) design following a different approach.
Upload the HTV Image on the Cricut design space
Ensure the multiple colors in the design complement each other and the water bottle. The last thing you want is a color combo that does not match. You can adjust the color on the Cricut design space. Once the design is ready, you can proceed to the next step.
Arrange the texts into the appropriate boxes
Put each color of text into different weeding boxes. The way to do this is to use the shape tool on your screen to create different boxes for various colors and insert each text into the appropriate box. Please note the size of the boxes so you can cut the vinyl paper accurately.
Cut the vinyl designs.
Cut the designs or images on vinyl paper. Each design must correlate with the vinyl color. Once the Cricut machine cuts the images, press the transfer tape on the vinyl using the Cricut scraper. Then, peel the transfer tape from the backing paper carefully at a sharp angle. Repeat the process for the four texts.
Paste, Paste, Paste
You have to be mindful of how the design looks on the screen when positioning the vinyl texts on the silver water bottle. Repeat the thrusting process for the four parts of the design and peel off the contact paper each time. Your custom bottle is ready once you stick the fourth design to the water bottle at the appropriate position.
Final Thoughts
Don’t panic when you discover bubbles in your vinyl designs. Lift the wrinkled vinyl gently with a tweezer and press it back with a scrapper. To make scraping easier, beginners should consider getting smooth bottles instead of bumpy or rough ones.
A DIY approach could save the company some money for brand owners who plan to gift items to their customers or audience as a token of appreciation for patronizing their services or employees. The company logo, artwork, or brand message would look great on sports bottles, custom stainless steel water bottles, or travel mugs. Some brands prefer laser engraved drinking items to vinyl styles, as laser-engraved ones are known for their long-lasting properties.
Sellers of custom water bottles collection prefer to sell in bulk as shipment fees have to be factored in. If your community is pretty small, you should consider making the custom water bottles yourself instead of shopping online for the occasion. One of the valuable tips we give clients is to add personal details of their employees or customers to make the gift more intimate.
Peradventure, your vinyl does not stick properly to the bottle surface; there is a good likelihood that you did not wipe the bottle with alcohol and a microfiber paper towel. Dust and sweat can reduce the adhesive power of the vinyl. When done correctly, the vinyl design can last for over a year. If you are down for additional information on the best drinkware on Amazon, subscribe to our newsletter for a more related content week in and week out.
