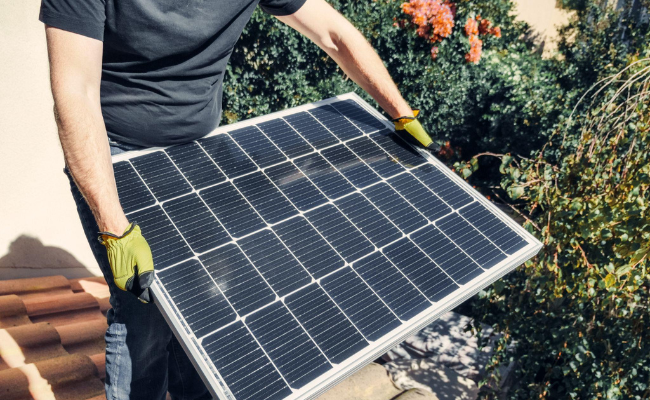
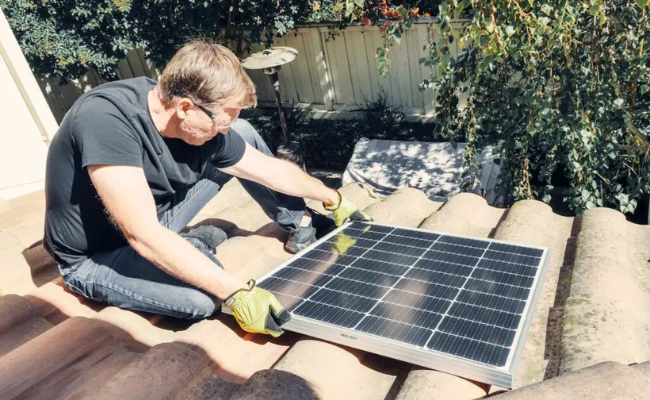
The ultimate guide to DIY solar panels
The Ultimate Guide to Building Your Own Solar Panels at Home
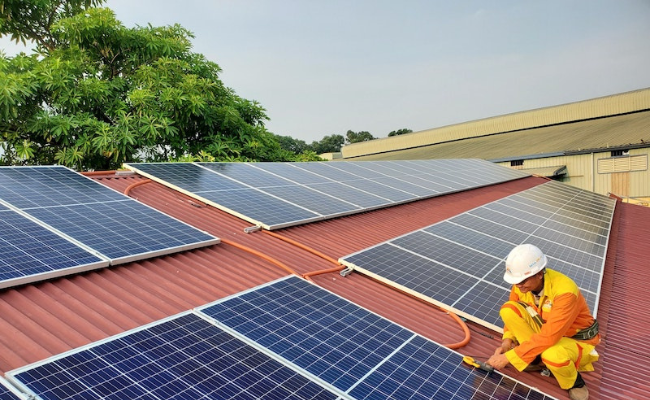
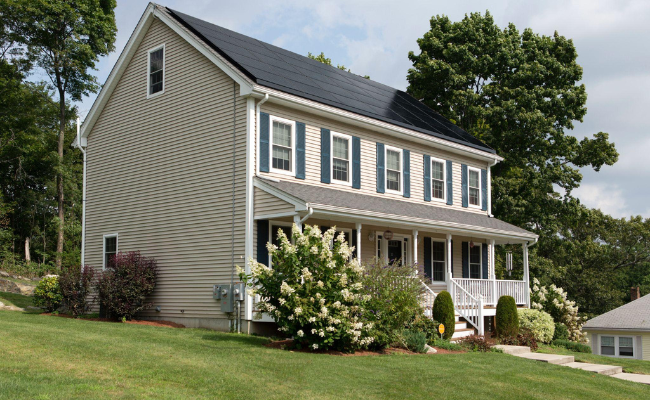
In today’s world, renewable energy is gaining unprecedented momentum, and harnessing the sun’s power has become more accessible and affordable than ever. Building your solar panel at home is an excellent way to save on electricity bills and reduce your carbon footprint.
In this article, you’ll learn everything you need to know about solar power. We’ll also tackle the different types of solar panels, the factors that affect the cost of a solar panel system, its main components, and its benefits.
This comprehensive guide provides the needed preparation before installation and step-by-step instructions for building solar panels at home. Let’s dive in!
What is solar power?
First, let’s understand what solar power is. Solar power refers to the generation of electricity or heat from sunlight using photovoltaic panels or solar thermal systems. It is a renewable and sustainable form of energy that produces clean and environmentally friendly electricity.
How is solar power harnessed by solar panels?
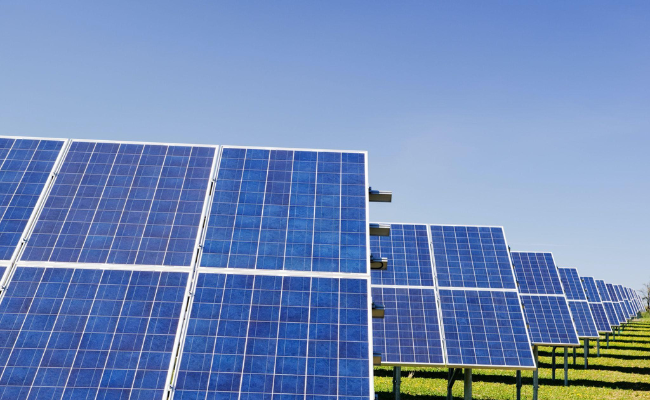
Solar power is harnessed and utilized by solar panels through photovoltaic panels. When sunlight hits the PV cells, it excites the electrons within them, generating an electric current. This direct current (DC) electricity is then transformed into alternating current (AC) electricity using an inverter.
Common Types of Solar Panels: Monocrystalline vs. Polycrystalline
Before installing the solar system components in your home, it’s essential to familiarize yourself with the two main types of solar panels available.
Monocrystalline solar panels
This solar panel is a type of photovoltaic cells made from a single crystal structure of silicon cells. They are known for their high efficiency and sleek appearance. The manufacturing process allows for a uniform crystal structure, resulting in a higher conversion of sunlight into electricity. Monocrystalline cells are generally more expensive than other types, such as polycrystalline or thin-film panels.
Polycrystalline solar panels
This solar panel is another type of PV cells commonly used for generating electricity from sunlight. The multiple silicon crystals in polycrystalline cells result in slightly lower energy conversion efficiency. The manufacturing process for polycrystalline panels is more straightforward and requires less silicon material, making them more affordable.
You may also like: Revolutionary Solar Images: Unseen Details of the Sun Revealed by Top Telescope
How many solar panels can power a house?
The number of solar panels required to power a house depends on several factors, including the house’s energy consumption, the size and efficiency of the solar panel components, and the amount of sunlight available in the location.
A typical residential panel system typically consists of 20 to 30 solar panels, each typically producing around 250 to 400 watts of power.
However, conducting a detailed energy assessment is important to determine the exact number of panels needed. Factors such as energy usage patterns, roof space availability, and desired energy independence should also be considered.
Consulting with a solar professional can help you determine the optimal number of solar panels to meet your specific energy needs and maximize the benefits of solar power for your home.
What factors affect the cost of a solar panel system?
The cost of a solar system is influenced by the size and efficiency of the panels, the capacity of the battery storage, the type and quality of the components, and any additional equipment or professional assistance required for installation.
System Size
A larger solar system will generally have a higher upfront cost than a smaller one.
Panel Efficiency
Higher-efficiency panels can be more expensive but generate more electricity from the same amount of sunlight, potentially leading to higher long-term savings.
Battery Bank Capacity (if applicable)
Higher-capacity batteries can store more energy but may come at a higher price.
Component Quality
The type and quality of the solar panel components used in the system, such as solar panels, inverters, and charge controllers, can affect the price.
Installation Requirements
The complexity of the installation process and any additional equipment or professional assistance required can impact the cost. Factors such as the type of roof, electrical wiring upgrades, and permits or inspections can influence the overall installation cost.
Financial Incentives
Government incentives, tax credits, rebates, and financing options can offset the cost of installing a solar system. The availability and amount of these incentives can vary depending on your location.
What are the solar panel’s main components?
These are the major components of a solar panel for it to operate:
- Solar module: This is the building block of a solar panel since it consists of multiple solar cells connected together and encapsulated within a protective material.
- Solar panels: These are the critical component of the system that captures sunlight and converts it into direct current (DC) electricity through the photovoltaic (PV) effect.
- Inverter: To generate power, the DC electricity generated by the solar panels must be converted into alternating current (AC), the type of electricity used in most homes and businesses. The inverter performs this function by converting the DC power into AC power that can be used to power appliances and devices.
- Solar batteries (optional): Solar batteries store excess energy or electricity generated by the solar panels during the day for use during nighttime or when the demand exceeds the solar panel output.
- Charge controller: In systems with solar batteries, a charge controller is used to regulate the flow of electricity between the solar panels and the batteries. It ensures that the batteries are charged properly and prevents overcharging or damage to the batteries.
- Solar racking: Solar panels must be securely mounted and positioned for optimal sunlight exposure. Mounting and racking systems provide the necessary support and allow for the proper placement and angling of the panels on rooftops or other surfaces.
- Electrical wiring and disconnects: The panel system requires proper wiring to connect the components and safely transfer electricity. Electrical disconnects are installed to isolate the system from the grid or other power sources during maintenance or emergencies.
- Monitoring system: A monitoring system provides real-time data on the performance and output of the panel system. It allows you to track solar energy production, monitor the system’s efficiency, and identify any issues or maintenance needs.
What are the benefits of building your own solar panels?
Building your own solar system can result in significant cost savings on electricity bills, reduced carbon footprint, increased energy independence, and a sense of accomplishment.
- Cost savings: Assembling the unit using the materials can significantly reduce your initial investment and lead to long-term savings on your electricity bills. By generating clean and renewable electricity, you may experience a decrease in your monthly electricity expenses over time.
- Reduced carbon footprint: Generating electricity from solar cells is clean and renewable, leading to a lower environmental impact than traditional energy sources like fossil fuels.
- Energy independence: Solar system components can provide a degree of self-sufficiency, reducing your reliance on the grid and increasing your resilience to power outages or fluctuating energy prices. Solar power helps mitigate air pollution, improve air quality, and reduce the release of harmful pollutants into the environment.
- Customization: Building your own setup allows you to tailor the system to your specific needs and preferences, optimizing its efficiency and compatibility with your existing infrastructure. You can create a solar system setup that is efficient, cost-effective, and aligned with your energy goals.
- Educational experience: Designing and constructing modern solar panels offer valuable hands-on experience. It enhances your understanding of renewable resources, fosters problem-solving skills, and cultivates a deeper appreciation for sustainability.
- Sense of accomplishment: Successfully completing a solar panel project may increase confidence in your capabilities and a willingness to take on future projects or challenges.
What to do before installing solar panels?
Embarking on your solar power project can be exciting and fulfilling. To get started, follow these initial steps:
- Evaluate your energy needs.
- Design your system layout.
- Obtain permits and approvals.
- Gather solar tools and materials.
- Follow solar installation safety guidelines.
Here’s a quick explanation of each step:
Evaluate your energy needs
Assess your household’s energy usage to determine the types of solar components appropriate for your needs. Gain familiarity with main components like solar cells, solar charge controllers, solar inverters, a battery bank, etc., and select the optimal options based on your needs and budget.
Design your system layout
Create a solar panel layout by visualizing where to put the different components of a solar system. Remember that factors such as available roof space, sunlight exposure, and local climate conditions can affect the system’s positioning.
Obtain permits and approvals
Check local regulations and obtain necessary permits or approvals for installing the entire system on your property. Adhering to these regulations ensures your modern solar system’s successful and hassle-free integration.
Gather tools and materials
Assemble the required tools and primary components for the construction and installation of your solar equipment. Preparing everything in advance will streamline the installation process and help ensure its smooth progression.
Follow safety guidelines
Ensure you understand safety procedures and best practices when working with electrical components. Take necessary precautions to prevent accidents or injuries. Safety should always be the top priority when dealing with electrical systems.
Once you’ve completed these preliminary steps, you’ll be well-prepared to dive into designing, building, and installing your solar kit.
DIY Solar Panels: Step-by-Step Instructions for Building Your Own
Here are the usual steps on how to install panels at home:
- Pick the right type of panels.
- Plan how you’ll install your solar panels.
- Estimate how much it would cost you.
- Choose your supplier and equipment.
- Install the solar panel at home.
1. Pick the right type of panels
When selecting the correct type of solar panels, you must make an informed decision that aligns with your specific requirements and goals. Choosing the right panels can significantly impact your solar system’s performance, efficiency, and overall success.
These are the types of solar energy system. See which of the following matches your objectives:
- Grid-tied systems may seem unusual because they are still linked to your local power grid. However, they can reduce your energy bill while ensuring no electricity goes to waste. Also, it doesn’t require special parts that off-grid systems need.
- Hybrid solar systems are like grid-type ones, storing backup power. This means you can use this in the event of a blackout. However, these usually cost more than grid-type panels.
- Off-grid systems are for people who want to rely only on the sun’s power. This requires numerous panels and massive battery storage to provide round-the-clock power. As a result, it’s the most expensive solar system.
Solar Panel Manufacturers: Quality and Reliability
There are some reputable brands that come to mind when talking about manufacturing solar panels. Here are a few well-known and respected manufacturers that may narrow down your choices, along with links to their websites for further information:
- SunPower: A reputable brand famous for its high-efficiency panels and exceptional warranty. They offer premium quality products that perform excellently and are suitable for residential, commercial, and utility-scale applications. Visit SunPower’s website.
- LG Solar: As a global leader in electronics, LG Solar offers a range of panels that combine durability, high efficiency, and appealing aesthetics. Their panels are backed by a solid warranty, providing peace of mind for your investment. Explore LG Solar’s offerings.
- Panasonic: With decades of experience in solar technology, Panasonic provides high-quality and reliable panels with excellent efficiency ratings. Their HIT technology ensures outstanding performance, even in less-than-ideal sunlight conditions. Learn more about Panasonic panels.
- Canadian Solar: As one of the world’s largest panel manufacturers, Canadian Solar offers panels suitable for various applications. Their products are known for their quality, reliability, and competitive pricing. Discover Canadian Solar’s options.
These brands are the leaders in solar components and solar power worldwide. However, make sure you purchase your components from their official store or retailers.
2. Plan how you’ll install the panel
After selecting your preferred panel type and brand, you must choose how you’ll get one. Purchasing a system is the simplest way, but you can use these other methods:
- Community solar panels: You and your neighbors can share a system. This is a good choice if you don’t want the panels to be on your home’s roof. You will have to find neighbors willing to join this project.
- Solar leasing: You may rent a solar energy system, so you get to use the power it generates without owning it. This is often cheaper than buying your own, and you won’t have to be liable for repairs and maintenance.
- Power purchase agreements: PPAs let people host panels from solar companies to buy the energy it produces. It is similar to solar leasing, but professional installers will be the ones who will place most panels. This lets you save money on upfront costs.
- Solarize programs: Neighborhoods and businesses who want to go solar choose this as an affordable option. However, you will have to check if there’s a Solarize program available in your area. Unlike the previous solar power programs, you must be willing to spend on repairs.
3. Estimate how much it would cost you
Once you’ve figured out your preferred system design, you must gauge your budget. Determine how much money you can allocate for this at-home project.
After that, check how much electricity your house needs every year. You’ll find this detail on your electricity bill expressed in kilowatt-hours or kWh.
See if you use more power in certain months. This will help you choose the right panel type. What’s more, you should consider other planned changes to your house.
For example, you may have to adjust your budget if you’re planning to buy an electric vehicle. That’s because charging one will likely jack up your power bills.
Fortunately, you don’t have to crunch the numbers by yourself. You can use an online solar calculator to get an estimate that works for your area.
You may also like: What Is a Solar Generator?
4. Choose your supplier and equipment
With a budget and plan ready, it’s time to gather the following tools and see if you have the following already:
- Pencil or marker
- Tape measure
- Electric drill with bits
- Wrench set
- Screwdrivers
- Electrical wiring tools
- Metal cutting saw
Then, ensure you have all the parts needed for the solar set-up. The following are the most common main components in these projects:
- The panel itself
- Roof mount system
- Roof sealant (silicone or roofing tar)
- Power inverter
- Battery bank
- Solar cells
- Charge controller
- Electrical wiring parts
- Heat sink
- Energy meter
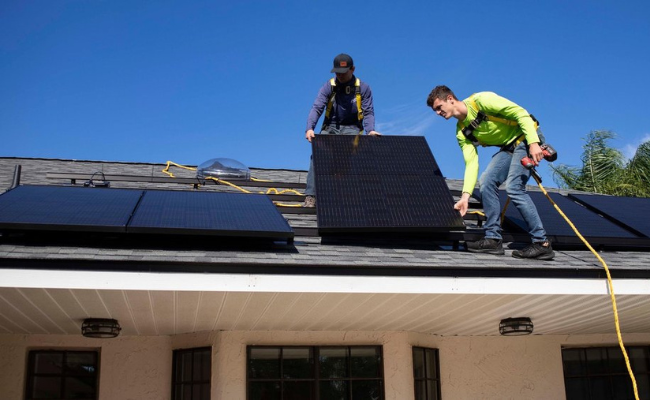
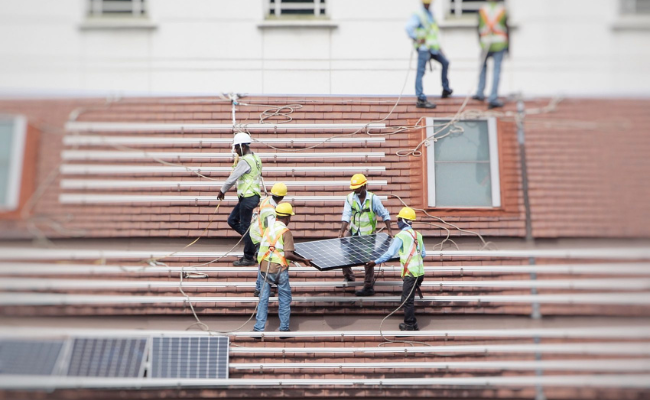
5. Install your own solar panels
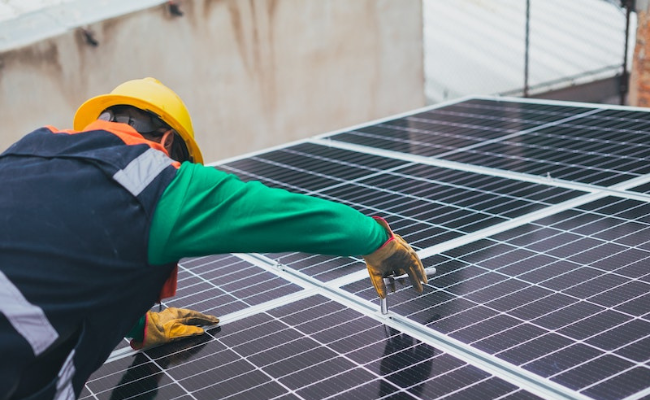
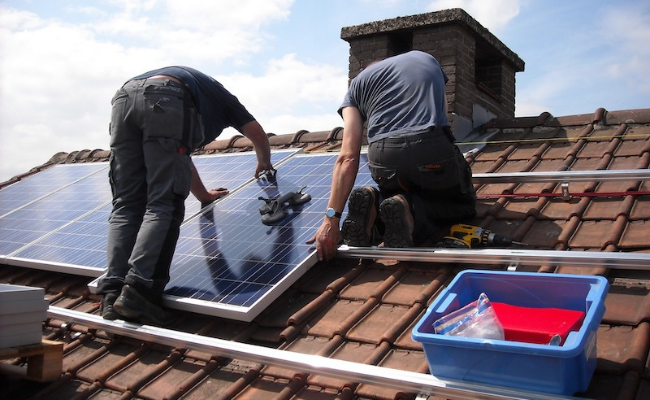
Before you install the panels, make sure to follow your local laws. This means obtaining the correct permits beforehand. After that, you’re ready to start the installation.
Note that certain manufacturers and suppliers design sets for easy installation. Still, you will need to have some know-how with electrician work. After all, you will be tinkering with your home’s power supply.
You could break your equipment and waste money if you’re not careful. Worse, you might set off an electrical fire in your home.
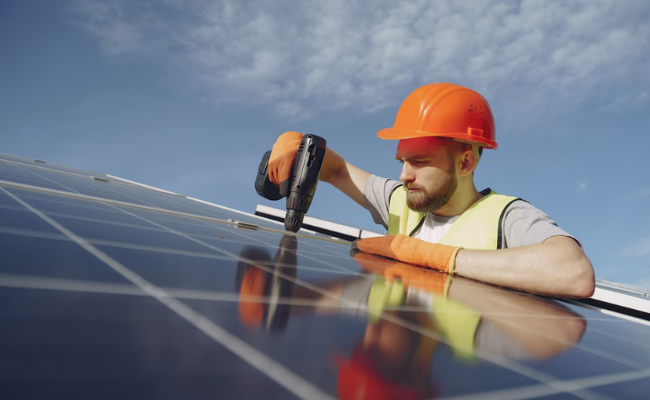
You might want to get a qualified expert to do it for you if you’re not confident about your electrician skills. That way, you’re more likely to install the panels safely and quickly.
However, your local HOA or local county laws might not allow you to DIY install solar panels. Some cities and states require homeowners to get professional help.
Once you’ve set the system right, there’s nothing left to do but turn it on. Make sure you secure the parts in place with no loose wiring. After that, enjoy your new solar panel!
Conclusion
A DIY solar panel project offers an excellent opportunity to tap into the sun’s power and create stored energy for your home. By carefully considering factors like your energy needs, available space, and local regulations, you can design and install components of a solar system that fits your requirements perfectly.
By implementing the information and recommendations in this article, you should now have enough to help you embark on your DIY solar panel journey confidently. Not only will you have the potential to save on energy costs, but you will also contribute to a greener future and gain a sense of accomplishment.
So, don’t hesitate any longer. Harness the sun’s power, make a positive impact, and start your DIY solar panel project today!
Since you’re considering renewables for your house, why not for your car too? Check out these great hybrid cars and electric vehicles right now.
Editor’s Note: This post was originally published on Feb 9, 2022, and was updated on May 26, 2023.

