
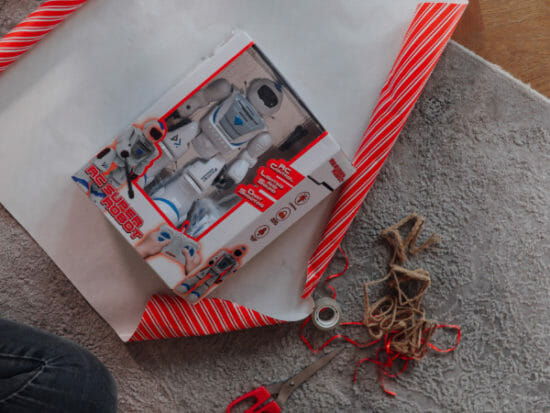
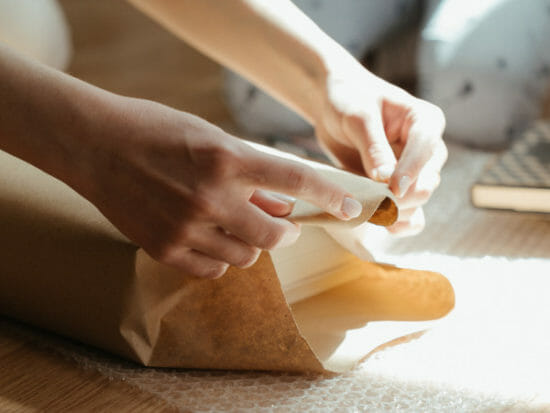
How to wrap a present
It is said that the way you wrap a present says a lot about how much care and thoughtfulness you put into it. But, we all know wrapping presents can be difficult and time-consuming! Here are some tips on how to wrap a present easier.
5 Ways How to Avoid Wasting Materials in Wrapping Gifts

Wasting materials in wrapping gifts is not an uncommon occurrence, and it can happen to anyone, even the most experienced who knows how to wrap a present perfectly. The truth is that when you are in a hurry or just not paying attention, it’s easy to make this mistake.
But there are ways to avoid wasting materials and make your gifts look their best! Here are three ideas for avoiding these mistakes:
- Start with the paper on the wrong side up – This ensures you don’t use too much paper by accident due to confusing which way the paper should be facing once wrapped around items.
- Use ribbon sparingly – Ribbon can add a lot of width and bulkiness if used improperly, so only use small pieces where needed instead of large strips.
- Don’t wrap gifts in paper that has been used before or will not be reused – cut out fresh sheets of wrapping paper, fabric, or tissue paper to avoid wasting material.
- Buy wrapping supplies in bulk – You’ll save extra trips for small items like tape, ribbon, or bows.
- Get creative with what you have – Packages can become wrapped under the tree if it doesn’t have any decorations left on them already.
How to wrap a present properly?
Are you looking for a way to wrap your present in style? If so, the steps below are the best way. Many people struggle with wrapping a present, and once you know how to wrap it, it becomes an easy task. This post will walk you through the step-by-step guide for the perfect wrap job!
Materials needed:
- Ribbon – a traditional ribbon will suffice as you can always curl it to add more style
- Gift boxes – these will make your gift wrapping so much easier
- Wrapping paper – choose the thicker paper. They’re much better
- Double-sided tape – stock up rolls of these tapes for a neat look at your gifts.
- Scissor – choose the one with a comfortable handle to avoid hand cramps after gift wrapping.
Instructions:
- Cut the gift wrapping paper – Here’s how to wrap a present. Put the box facedown on top of your wrapping paper. Let the paper attach from the roll. Cut the paper on one side, leaving a wide enough sheet of paper to cover both sides of the box.
- Fold off – As you stand on the same side of the table where the roll is, pull the paper up and above the edge of the box. Attach it using a piece of tape while folding the paper on the box edge using your forefinger and thumb.
- Attach the ends – Let the paper unroll. Then bring it to reach the edge of the wrapping paper. Cut the paper from the roll but leave an inch off the sheet. Fold that remaining inch and crease it on the fold. Stick it using the tape.
- Seal the open ends – Time to close one of the open edges of your box. Push the side of the paper inside. While you create four angle top flaps, crease the flaps once done.
- Fold downward – Fold the top flap down—crease with pressure on the top of the box. Then crease the sheet where the paper meets the bottom end of the box. Cut the paper along that bottom edge part of the crease. Then stick it to the box using the tape.
- Cut down excess paper – Fold the excess paper under the bottom flap. Make sure it aligns perfectly on the top of the box. Put a double-sided tape at the bottom flap. Then fold it above the top flap and attach it.
More Steps to Take
- Seal the other side – Just repeat steps 4-6 on the other open end. Close all sides by pinching the edges to achieve sharp lines. Then attach with tape.
- Style with the ribbon – Place the gift box face down with the ribbon length 4-5 times as long as the box. Pull the ribbon ends up and places the right end over the left end. Pull across the box so they’ll cross in the middle.
- Lace the ribbon over – Turn the gift box over and down. At this point, your ribbon ends should be at the same length, and thread each end under the ribbon that’s already there.
- Create a double-knot – It’s now time to make that cute ribbon. Knot the ribbon double, then tie it into a simple bow. By using your fingers, shape the loops to your preferred size.
- Clean cut the ends – Press the ribbon ends lengthwise, then trim at a 45-degree angle to achieve forked ends. Voila! It’s all wrapped up!
How to wrap cylinder-shaped gifts?
Say you’re on your last-minute gift wrapping, then you run out of boxes. And the last gift to wrap was cylinder-shaped.
How to wrap a present with a cylinder shape? Look no further. We got you. Read below to know how to wrap a present with a cylinder shape.
Materials:
- Measuring tape
- Tissue paper – choose the vibrant colors, and it brings up a more festive look.
- Scissors
- Tape
Instructions:
- Know your object’s size – In measuring your gift’s circumference, wrap the measuring tape around the item. To get the diameter, measure the item’s flat side from one end to the other. If your item has a flat size with a bigger side than the other side, get the measurement of the bigger side.
- Cut your tissue paper – Cut the tissue paper in a rectangle shape. Your rectangle’s width should be your item’s circumference. Just add 4 inches, and the height must be the diameter plus the measured length. For example, the gift’s circumference was 5 inches, its length was 8 inches, and its diameter was 4 inches. Your rectangle’s size would be 9 inches by 12 inches.
- Lay the item in the middle of the paper – Roll out and spread your tissue paper. Place your gift item at the center of the paper.
- Wrap around the round side with paper – Wrap one side of the paper and then the rounder side of your gift. One side of the paper should overlap one side. Attach the upper layer of the paper to the lower layer of the object midpoint.
- Twist both ends to seal the cylinder’s wrap – At this point, the paper on the flat side of your item should be showing out. Beginning on one end, pinch your paper at the bottom of the object, and twist it around 2 or 3 times. Wrap a tape around the twist to attach it. Your wrapping moves should be like wrapping a piece of candy. For ribbons, follow steps 8-11 in the paragraph above. Then add gift tags.
Related Articles
Key Takeaway
Don’t worry if you’re not sure how to wrap the perfect gift. We’ve got your back with these seven steps that will guarantee the gift is wrapped perfectly every time! No one wants to end up in an awkward situation where they have their fingers crossed and hope they’ll get lucky wrapping the gift themselves. There’s no need for luck with our simple tips – just skillful presentation of any gift.
