How to Remove Acrylic Nails at Home
Removing acrylic nails is a hassle, but it can be a breeze with the right tools and instructions. Not everyone has the time to return to the nail salon, and taking your acrylic nails off can be costly. In these situations, you might have to do it yourself.
We’ll provide you with everything you need to know to remove your acrylic nails at home. We’ll also provide tips and tricks for making the process as easy and painless as possible. Whether you’re looking to replace your acrylic nails or you want your natural nails back, read on for our simple guide on how to do it yourself!
How to Take Off Acrylic Nails With Acetone
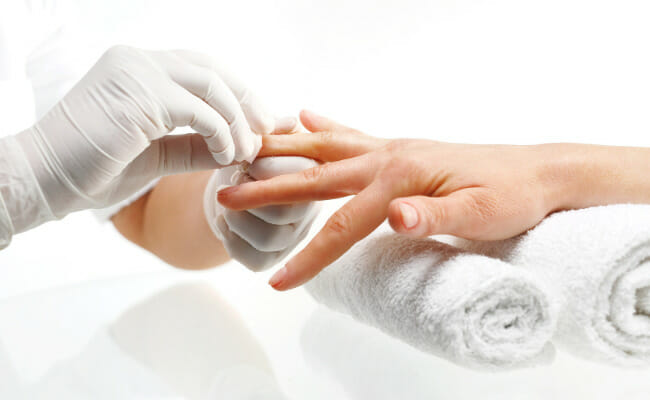
Follow this simple step-by-step process to get rid of acrylic nails quickly.
Cut Off Your Acrylic As Much As You Can
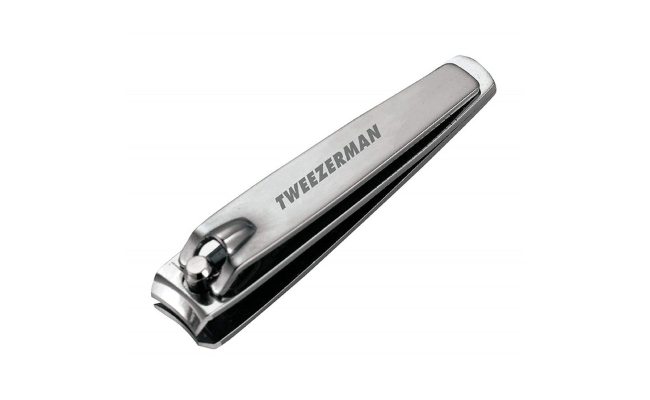
Since you are no expert at filling your acrylics, you must cut them. Use sharp nail clippers to cut your extensions, and leave about 2cm of the acrylic nail above your natural nail bed for safety. This is the quickest and easiest way to get your nails back to their natural length.
File Off Residual Acrylic
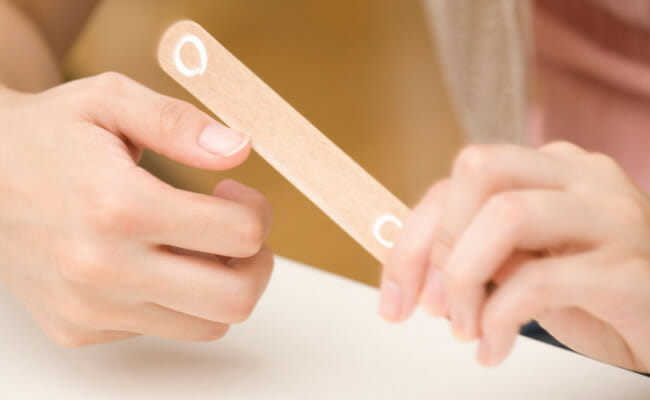
Don’t file your nails along the top edge; just thin out the entire area that the acrylics span in a sawing motion. Remove the most acrylic product you can with a coarse grit file (100/180 Grit).
Using an emery board for this would not work very well. Although a nail drill is an excellent alternative, a 100-grit nail will do since it is coarse enough to file down the acrylics’ surface.
The more acrylic you file away, the less time your nails soak in acetone.
Eliminate Remaining Acrylic Nails With Acetone
After filing down your acrylic nails, dip the nails in 100% acetone for as long as it takes to dissolve the product completely.
There are two approaches here. The first method involves wrapping each fingertip in foil after placing an acetone-soaked cotton ball over each nail. This is the best and safest method.
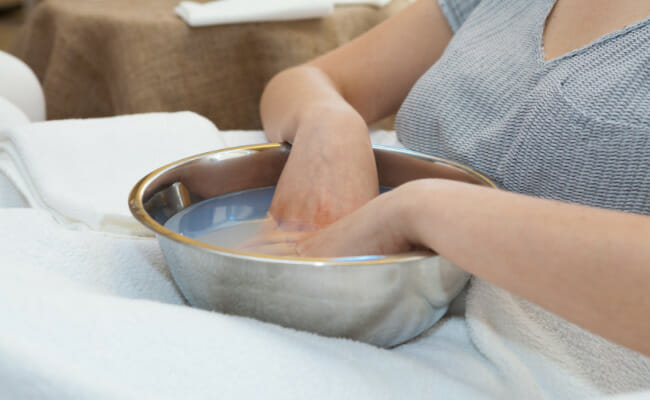
You can also soak your fingers in a bowl of acetone. It is less complicated, but the bowl technique is harsher on your skin and takes longer.
To avoid dried-out skin on your hand and fingers, only dip the tips of your nails into the bowl. Because acetone is highly volatile and can cause skin irritation and respiratory problems, only use it in well-ventilated areas.
Scrape Or Buff Away Any Residual Acrylic Gently
After soaking the nails in acetone for about 20 minutes, gently scrape away the softened acrylic with a cuticle pusher. Repeat this process until you remove the product entirely.
If you still notice a few particles of the acrylic left, try not to be too hard with them. Buff those little stubborn pieces with a soft nail buffer until you are satisfied. Lastly, before moving to the next step, wash your hands.
Get Your Nails Hydrated
After the acrylic nail removal process, your nails will be dehydrated. Rehydrating them is a good idea. Apply the oil to your cuticles, nail bed, and around the top side of your fingers, very close to the free edge of your nail bed. This practice will aid in moisturizing the area.
Nail Care Essentials
Here are some tools that you’ll need before you begin.
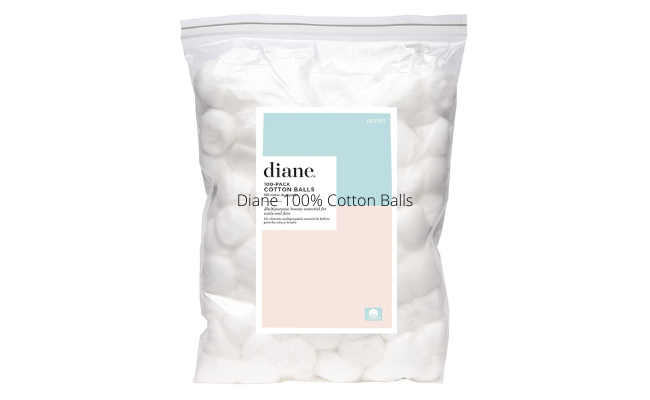
- Diane 100% Cotton Balls – $2.99 On Amazon
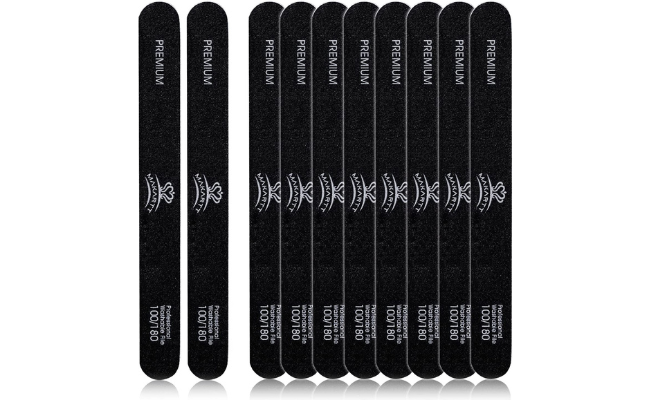
- Makartt Nail File 100 Grit – $9.99 On Amazon
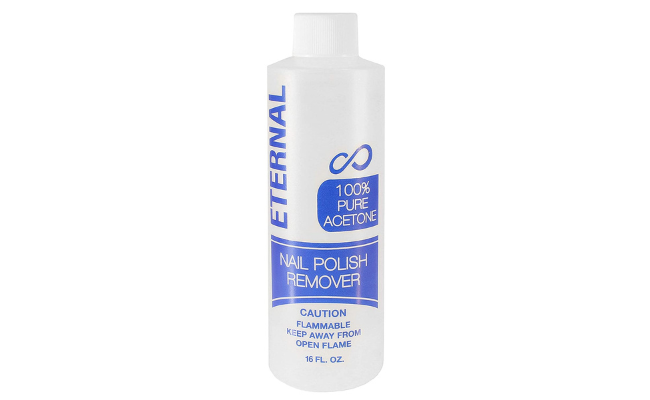
- Eternal Pure Acetone – $9.75 On Amazon
- Tweezer Stainless Steel Nail Clipper – $6. 99 On Amazon
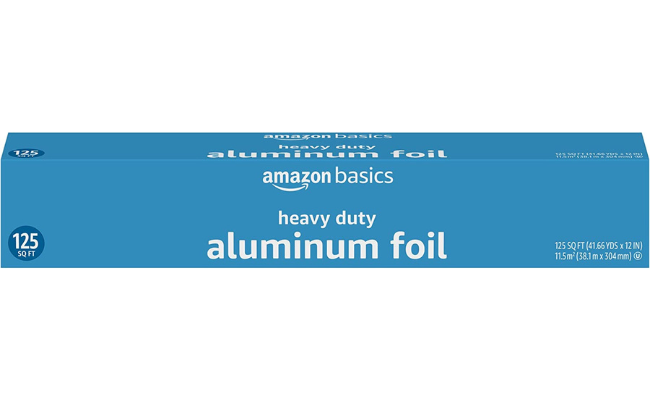
- Amazon Basics Aluminum Foil – $8.28 On Amazon
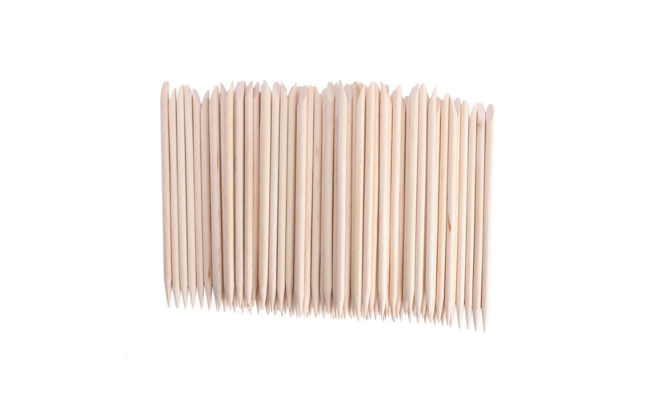
- Adeco Wooden Cuticle Stick – $4.69 On Amazon
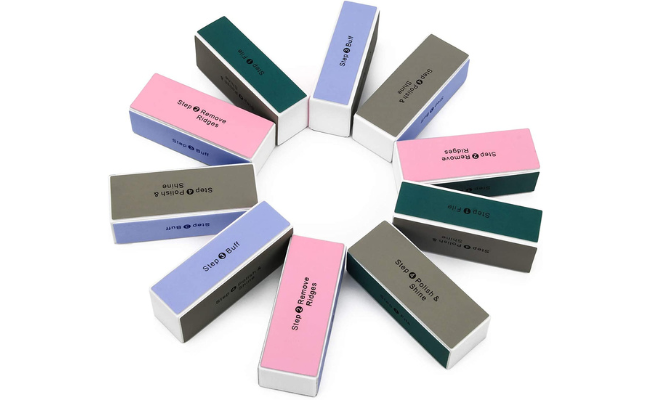
- Ahier Nail Buffer – $4.69 On Amazon
Diane 100% Cotton Balls
Makartt Nail File 100 Grit
Eternal Pure Acetone
Tweezer Stainless Steel Nail Clipper
Amazon Basics Aluminum Foil
Adeco Wooden Cuticle Stick
Ahier Nail Buffer
How to Take Off Acrylic Nails Without Acetone
Acetone is a solvent used to remove extensions. If you don’t plan to use harsh chemicals, here are some alternative ways to remove acrylic nails without acetone.
1. Acetone-Free Nail Polish Remover
- Begin trimming the enhancement’s excess length with nail clippers to reduce soaking time.
- Using a 100-grit nail filer, remove the product without filing into your natural ones. The nail filer is supposed to remove any top layer, Nail art, or gel polish. It makes it easier for the nail polish remover to penetrate and work effectively.
- Soak up a piece of cotton ball in the nail polish remover
- Wrap the acrylic and cotton in a piece of foil until they are completely covered.
- Wait for about 20 to 25 minutes, and remove the foil and cotton.
- Use a cuticle pusher or an orange stick to gently push the soaked-up acrylics (one at a time) away from your cuticles
- Be careful not to scrape out anything you did not soak thoroughly. So if there’s still acrylic on your nails, wrap them again with extra remover.
- File your nails to shape and buff them gently if need be. Ensure that you wash your hands thoroughly to remove any residual solution.
2. Warm Water
- Obtain a bowl containing warm water. It should be warm enough for you to dip your nails in.
- You can also add drops of dish soap to aid in fast removal.
- Soak your extensions for about 25 minutes before attempting to remove them.
- Move your nails inside the warm water to make sure they loosen quickly.
- After the 25 minutes have elapsed, try peeling off the acrylics with an orange stick or cuticle pusher.
- If they still don’t budge, soak for another 10-15 minutes until you feel they are loose enough to be removed.
3. Cuticle Oil
One other way to avoid using isopropyl alcohol, acetone, or other harsh chemicals is to use cuticle oil.
Cuticle oil heals and nourishes your skin instead of damaging it, so this method benefits your nails.
The steps involved in getting acrylics off with cuticle oil are:
- Soak a Q-tip in Cuticle Oil and place them against your nails for about 10 minutes.
- Make sure the oil gets under the areas that are already loosening.
For a faster approach, use the foil method.
- Get the cotton balls soaked in Cuticle oil and place them on each nail.
- Wrap your nail and the cotton ball with aluminum foil for a few minutes or until the acrylics are loosened and pull with a cuticle stick or an orange stick.
4. Dental Floss
Try this dental floss-based technique to remove acrylic nails if you’re looking for something different!
- Make sure your acrylics are slightly loose from any of the methods discussed before.
- You’ll need someone to help you. It’s nearly impossible to remove your acrylic nails all by yourself.
- Using a cuticle stick, gently lift the edges of your acrylic nails.
- Ask your assistant to slide some dental Floss beneath the acrylic and move back and forth until the nail pops off.
How to Take Care of Your Nails After Acrylic Removal
Once the acrylics are removed, give your nails breathing space. A few weeks or at least a few days away from more fake nails or even regular nail polish can help repair damaged nails. A break is necessary for your nails if they have thirsty cuticles, discoloration, peeling, ridges, splits, and keratin granulations. If your nails are fragile, consider a strengthening treatment.
Keep hand lotion and cuticle oil on hand at all times — you’ll want to use both judiciously. Your nails won’t break if you moisturize, even if they are generally dry and brittle.
Maintaining healthy nails can help you stay away from uncomfortable and painful situations like hangnails. The cuticle can separate and form a hangnail more easily when it is dried, and these exposed cuticle segments are frequently an incentive for biting and picking.
You don’t want your nails to be in terrible condition when you are again ready for extensions. You’ll soon be back on the path to long, beautiful natural nails with plenty of hydration and some patience.
Conclusion
The best way to remove acrylic nails is to meet nail artists to get them out professionally. However, we’ve discussed several methods you can use to remove your acrylic nails at home.
However, there’s a tendency to have damaged nails, even without acetone. This is why it’s important to hydrate and use nail products such as hand lotions and cuticle oil to get your real nails the nutrients they deserve.
As an Amazon Associate INQUIRER.net will earn from qualifying purchases.

