How to Take Long Screenshots on iPhone
You can capture your iPhone’s screen as an image. However, did you know that you can take larger screenshots?
For example, you could capture an entire webpage for a recipe. In turn, you do not need to divide it into multiple screenshots.
This article will show you how to take long screenshots on iPhone. You may use two built-in functions, voice commands, or one of the several third-party apps available.
Taking long screenshots via Safari

Photo Credit: www.maketecheasier.com
Let us say you stumbled across a list of tilapia recipes on the Safari web browser. You could take snippets of the ingredients and the cooking steps or use a scrolling screenshot.
Press your iPhone’s Volume Up and Power buttons simultaneously. In other words, use the same button combos for regular screenshots.
Select the screenshot preview that appears in the bottom-left corner of the screen. Next, tap the Full Page tab at the top of the display, below the editing icons.
You will see a preview of the entire page in the right-hand corner. Also, it will have grab handles at the top and bottom that let you isolate the part you need.
Tap the Done button in the top-left corner once you finish. Then, you have three ways to save screenshots on your iPhone.
First, you may tap the Save PDF to Files button if you only have one screenshot. Second, you could select the Save All to Files option if you have several.
Third, you may tap the Share icon and the Save to Files option. These steps will show a pop-up window asking where you would like to save the images.
Choose a location on your iPhone or iCloud Drive. Then, select the Save option in the top-right corner of the screen.
Long screenshots on iPhone appear in the Files app. Your recent ones will appear in the Recents tab.
Taking long screenshots via AssistiveTouch

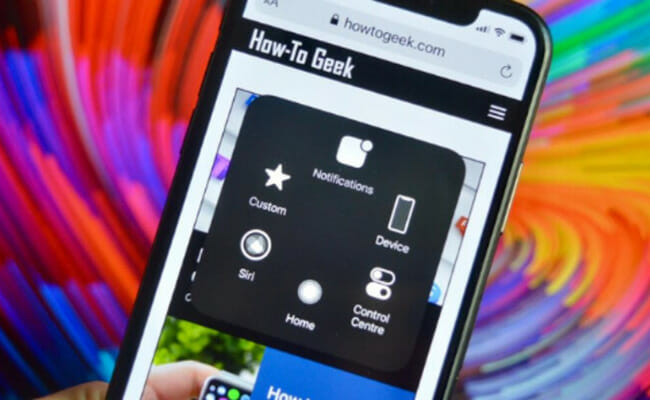
Photo Credit: www.howtogeek.com
Your Apple smartphone’s built-in accessibility feature may also help you take scrolling screenshots. Start by activating it in the Settings app.
Open that, then tap Accessibility, Touch, then AssistiveTouch. Next, choose an AssistiveTouch command for taking extended screenshots.
Return to the Touch section and tap the Back Tap option at the bottom. Next, select Double Tap or Triple Tap, depending on how many taps you want to use for long screenshots.
Use your chosen AssistiveTouch command and your Back Tap to take a screenshot. Afterward, tap the preview thumbnail on the bottom-left side of the screen.
Check the Full Page tab near the top-right corner of the screen. It will show what your extended screenshot will look like.
Tap the Done option once to finalize your results. Next, tap the Save PDF to Files or the Save All to Files option based on how many screenshots you have.
Choose a location for your new image. Long screenshots on iPhone appear in the Files app.
Taking long screenshots via Siri and third-party apps

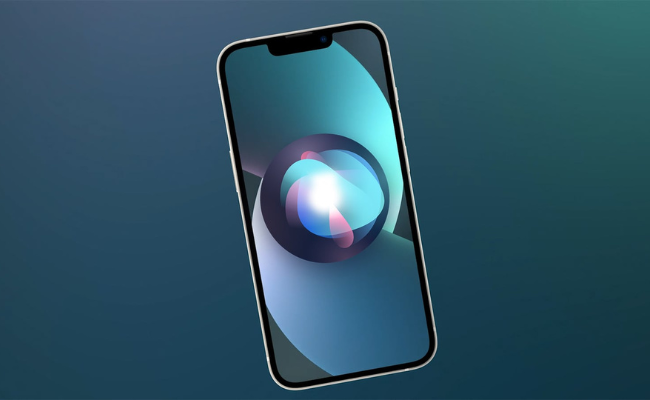
Photo Credit: www.technadu.com
Do you want a simpler solution? Say, “Hey Siri, take a screenshot,” and the AI assistant will handle it. Still, you must interact with the screenshot to capture an entire page.
On the other hand, the App Store has numerous third-party apps for taking long screenshots on iPhones. Note that you should be careful when downloading.
Contrary to popular belief, iPhone apps are not 100% safe. Some apps have malware that takes personal data without your permission.
Conclusion
Those were the steps for taking a long screenshot on iPhone. Note that software and hardware upgrades may change these steps.
For example, Apple users had to change passwords manually back then. Nowadays, iOS 16 can automatically create security codes that comply with website requirements.
Inquirer USA has more handy tech tips and tricks, even for non-Apple users. You may also check more updates and news about the most trending topics.

