
Why you should guard your phone data during repairs
Do you want to protect your phone data from repairs? Unless you’re using a rock-hard indestructible phone, your phone will most sooner than later give you a reason to either completely replace it or take it for repairs depending on the extent of the ensued damage.
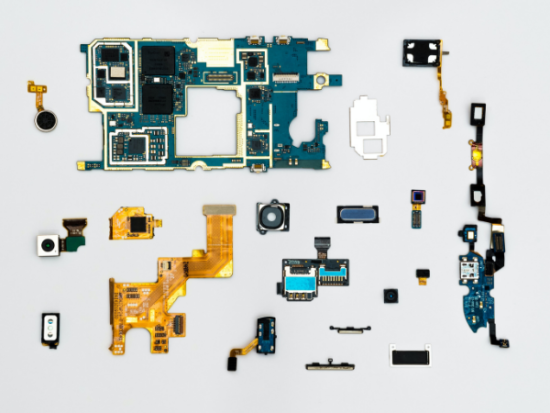
From minor issues like battery replacements or the need to replace the phone screen protector to more complex issues involving screen repairs, phone software, and operating systems, amongst others, you must consider your phone privacy before giving your phone out for repairs.
If you have absolutely no problem having random people (strangers even) ransack your cell phone or, worse, have them steal private information from your phone, then be our guest.
However, if you read that line thinking, “that can’t be met,” then it’s probably best you get comfortable and learn a few things about maintaining your phone privacy and safe-keeping your personal information and valuable data (such as text messages, social media accounts, and location information) from the phone repairer.
Even better is that this review covers both the iPhone and Android phones, so you know for sure you are covered.
Ensuring Phone Privacy During Repairs
The best and unbeatable way to ensure your phone privacy, keep people from meddling in your business, accessing your personal information, or stealing data off your cell phone, is not to allow them to do so.
To achieve this, all sensitive data should be completely taken off the phone before the said phone is given for repair services. It is probably best to give them a clean slate to work on than tempt them with data in your phone, expecting them not to fail. Detailed below are small but mighty steps to take to ensure your phone privacy.
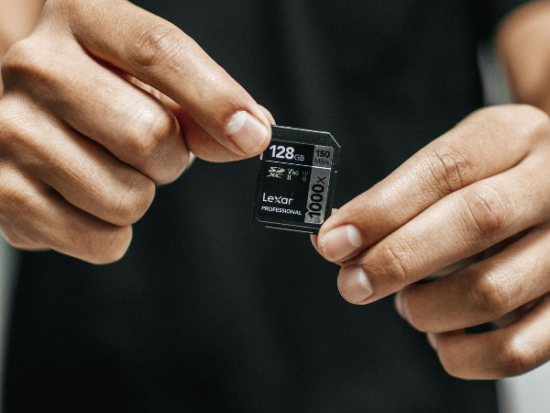
SD/External Card Storage Removal
Whether you want to give your phone to a registered trademark or random cell phone repairer to repair or replace parts, this is the easiest way to ensure phone privacy. Removing the SD card automatically removes the stored data on it. When this is done, data in the SD card cannot be accessed until the SD card is inserted and activated.
Data Backup
Regardless of whether you’re using an iPhone or an android, you have the option to backup your data onto a computer or using cloud or Google services. Whatever works best for you, each one to his own.
How to Backup Data with an iPhone
Backing up data on an iPhone is made easy using iCloud and iTunes. With an iTunes backup option, this requires a connection of the said iPhone to a computer. This is made even easier when you follow the instructions dished out when you open iTunes. However, you have to remember to click an option that reads “back up now” because that’s the sole purpose of being there.
Using an iCloud, your iPhone data can be backed up, and you can conveniently ensure your phone privacy. To aid and facilitate a smooth backup process, you must first be connected to a secure Wi-fi network. Open the settings of your phone and locate the iCloud icon. After the icon is accessed and opened, tap on the option that reads “back up now.”
Here, data begins to be backed up while still connected to the Wi-fi network. It is safer to activate the automatic iCloud backup option, however. This option enables automatic backup of your files.
How to Backup Data with an Android Phone
With the ever-improving Google functions on android phones, actions are being carried out on android cell phones without needing to break aback. The option of synchronizing your Google account to your phone makes it super easy to back up your files and folders to Google drive and even your photos and videos to Google photos.
Following the prompts on Google apps gets you very well on your way. It is important to note that backing up data this way requires internet data, and as such, you have to be connected to an internet source.
Google’s backup and sync app can be downloaded from an app store. These ease the bulkiness of manual backups on cell phones and computers. Download the app and follow the inbuilt prompts to guarantee your phone privacy.
If you find the above method a bit demanding for an android cell phone, you can easily transfer your files from your phone to a computer for safe-keeping. Here, using a USB cord, connect your phone to a computer, tap the pop-up notification that reads “USB for…” then tap on “transfer files.”
After this is done, your phone data appears on the computer. Open the data and highlight all the information you wish to backup. Click on the “Copy” option and “Paste” on the computer. This is a lot easier when you get to it.
Data Deletion and Factory Reset
You want to delete all the data you have backed up after backup is completed, or else it defeats the whole purpose of backing up the said data. Here, it is important to ascertain that you have successfully backed up the data before you proceed to delete it off your phone, however.
We assure you, you don’t want to be in a position where you find out that you have deleted data that has not been backed up.
How to Delete Backed Up Data from an iPhone
Tap on your “Settings” icon, click on the “General Settings,” followed by the “Reset” option. This leads you to select an “Erase All Content” option. Tapping on this automatically resets your phone back to factory settings. This leaves your phone completely free of all data and personal/general information.
How to Delete Backed Up Data from an Android Phone
This is similar to the method for iPhone users. Open “Settings” on your phone, followed by the “Backup and Reset” option. This may be labeled differently on various android versions, so prompts should be read carefully and heeded.
Phone Data Restoration
Before you think of restoring data on your phone, all repair services may have ended, and at this point, phone privacy is ascertained.
Restoring Data with an iPhone
For the iTunes backup and recovery method, the iPhone should be connected to the computer for which backup was done. Open the iTunes app on the computer and tap your device in the app on the PC. Select the “summary” option, followed by the “Restore” option. This way, your data is restored.
Using the iCloud backup and recovery method, go to “settings.” Tap on “iCloud,” followed by” Manage Storage.” A device will be listed under the “iCloud backup.” Tap on it to access the latest device. Afterward, go to “Settings,” followed by “General,” then the “Reset and Erase all Content and Settings.”
Store” button. You would be prompted to supply your iCloud login details, which can only be accepted if the phone is connected to an internet source. When this is done, data will be restored. This process leaves your phone in a clean state, waiting for restoration. This process leaves your phone in a clean state, waiting for restoration.
Restoring Data with an Android Phone
Depending on the backup method used, the data restoration process for an android device requires just a few steps. A “Sign-in” to your Google account would be the first step. This is especially if the Google account were synced to the phone.
After sign-in is complete, tap on the phone’s settings, click on “Backup & Restore” followed by “Automatic Restore” under the part labeled “Personal Section.”
For the computer backup method, the same action is taken. First, connect the phone to the computer to which files were transferred. Then tap the pop-up notification that reads “USB for…” tap on “Transfer Files.”
After this is done, open the phone data location. Then, highlight all the information you wish to transfer from the computer. Click on the “Copy” option and “paste” to the phone. It really is as easy as it sounds.
Related Articles
Conclusion
Phone privacy is a top priority these days because of the sensitive information stored in phones. This privacy is often breached during phone repairs. It happens by people who offer these repair services, which most often than not, go beyond just offering “repair services” to prying on clients via their phones.
Experts recommend that this sensitive information be backed up and deleted from phones. Especially before phones are issued for repairs, regardless of how miniature the repair job is.
The only setback to this somewhat perfect plan for protecting your phone data is if your phone goes through damage. Damage including water damage and intense screen damage, for example. Then, no backup can be done immediately. In which case, you may have to sit by the phone while a repair is done. Anything to protect your data, right?
Disclaimer: This article is not the official guide to protecting your phone’s data process but is based on the author’s research or own personal experience.
