
How to make a discord server for you and your friends
Do you want an easier way to chat while gaming? Learn how to make a discord server today, and speak with friends as you play. Even better, use it to coordinate teamwork and win online games together!
We’ll start by talking about what Discord is, so first-time users can get up to speed. Then, we’ll show you how to create an account and install it on your computer. More importantly, we’ll show the steps to creating a Discord server and inviting friends.
It can get a bit lonely playing online by yourself, and text chat doesn’t isn’t as satisfying. Fortunately, Discord lets you talk with your friends while playing. Once they’re on your server, they can pop in and start a fun voice chat!
Discord’s goal: Chat while gaming!

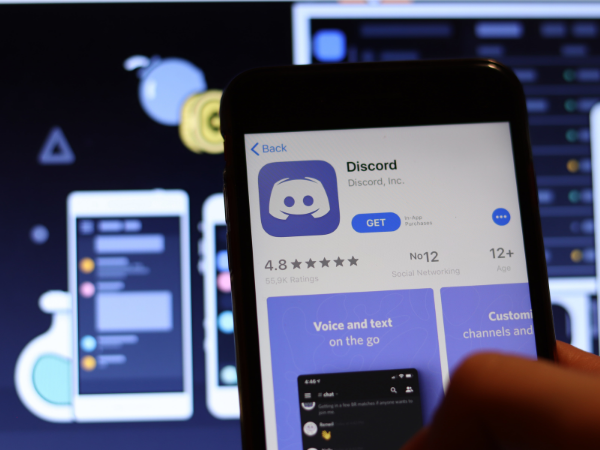
If you play online games often, you’ll come across Discord. You might have seen your favorite game streamers use it during their gaming sessions.
It started with a simple problem: “How do you communicate with friends around the world while playing online games?” Discord founders Jason Citron and Stan Vishnevskiy wanted a solution.
Both of them loved playing video games with online friends. As they played, they made lots of wonderful friends. However, the tools that connected gamers were slow and hard to use.
Citron and Vishnevskiy knew they could do a better service. It would recreate the same togetherness and warmth they experienced from gaming.
In 2015, they set out to bring Discord to the masses. The tech needed was complex, yet they stayed the course to that simple goal: Connecting gamers around the globe.
As a result, we now have the Discord we know today. Nowadays, it has over 150 million active users and 4 billion minutes in server chat. It’s now useful outside the gaming world too!
How to create an account
Before we show how to make a Discord server, you need an account. If you’ve noticed, most online services require this now. Here are the steps:
- Go to the Discord registration page. If you want to do it on your smartphone, download the Discord app. It’s available on the Google Play Store and the Apple App Store.
- Type in your email address, username, password, and date of birth. Make sure to give an email address that you can open.
- Click or tap the Continue button.
- Open your email address to see if you received Discord’s verification message. If you have, open that email.
- Tap or click Verify Email.
How to install Discord
Once you’ve created an account, you may start using Discord. You may use the app, but it might not be ideal while playing. Here’s how to get it for your computer:
For Windows:
- Open the Discord Download page.
- Click the Download for Windows button.
- Wait for the download to finish.
- Once it’s done, open DiscordSetup.exe.
For macOS:
- Open the Discord Download page.
- Click the Download button under Mac.
- Once the download is done, Open Discord.dmg.
- Drag the Discord logo on the left side onto the Applications folder.
How to create a server on Discord

After all that, you’re ready to set up a Discord server! You can do it on the computer program or the smartphone app. Let’s start with the steps for PC:
- Open Discord on your computer. Double-click the icon or bring it out using the search box.
- Click the “+” button on the left side. If you can’t find it, you probably have lots of servers listed. Just scroll the left column to find where the “+” is.
- This will take you to a new window. It will show two options: Create or Join.
- Click the Create a server button.
- This will put you in another window. Type the server name you want.
- At the bottom, select Create.
- You’re done creating a new Discord server!
If you prefer making a server on your phone, you can do that too. It’s just as easy as the steps for a PC. Here’s how to do it:
- Open the Discord app.
- Tap the “+” icon on the left side.
- Choose a Discord server template. Pick the one that suits your server. For example, click Gaming if the server will show Minecraft streams.
- Choose between “me and my friends” or “club or community.” If you’re not sure, tap “skip this question” to proceed to the next step.
- Upload an icon for your server and name it.
- Then, the app will show a list of people you might want to invite. Tap the Invite button beside the names to send them invitation links.
- Once you’re done, your Discord server is ready!
How to invite friends into your Discord server
WE'VE HIT 3⃣ MILLION FOLLOWERS THANK YOU EVERYONE FOR GETTING US HERE!!! !111!!!!!!!
༼ ༎ຶ ෴ ༎ຶ༽ just in time for our birthday next week ..okay now we gotta figure how to actually send our precious mascot into space pic.twitter.com/nzGdLlHhYe
— Discord (@discord) May 7, 2021
Now that you have a server, it’s time to add people to it. As you’ve seen, you could do it while creating the server. If you want to add more, here are the steps to do it:
- Open your Discord server.
- Click the Instant Invite icon next to your channel name. It looks like a small person with a “+” sign beside it.
- Pick someone and click their Invite button. This will open a box with a list of recommended friends. Alternatively, you may send someone your invitation link below.
Of course, you can also do it on the mobile app with these steps:
- Tap the Direct Message icon on the left-hand side.
- Then, tap the Add Friend button.
- This will open a menu. Type your friends’ username and their 4-digit tag.
- Once you’re done, tap Send Friend Request.
- After your friends accept your request, they’ll appear on your friend’s list.
How to assign roles and set permissions

As the server owner, you’re in charge of how the server works. You can tinker with the server settings. Access them by clicking or tapping the gear icon at the bottom.
From there, you can give roles to your members. This will determine how the members will go about in the server. Here’s how to make and assign roles in Discord:
- Click the arrow near your server name.
- This will open a drop-down menu. Click on Server Settings.
- Then, click Roles on the left-hand side.
- Click the “+” icon to make a new role.
- Once you’re done, you may now assign them to your members.
- Click the “+” icon of the member that will get a role.
- Select a role from the drop-down menu.
- Now that person will get the permissions attached to that role.
You may organize the roles per channel. Also, you may create categories for multiple channels. You may adjust permissions for all of them.
To see these options yourself, click your server name or the arrow near it. This will open a drop-down menu. From there, you may create a channel, category, or permission.
This offers a lot of customization. You may sync permissions so you can easily apply them to multiple channels. However, you may still grant different ones for each channel.
For example, you may place permissions for a voice channel but not for a text channel. These features are truly helpful if you have a large server!
Related Articles
Final thoughts
Now you know how to make a Discord server. It’s time to apply those skills in the real app. You might have more fun playing online! Try it out with your friends.
While you’re at it, why not check the Nintendo Switch OLED? It’s coming later this year. If you always wanted a Switch, you could wait for the latest model!
If you’re not a gamer, Discord could help with remote work. Coordinate with your colleagues easier and faster. This will allow your team to contact each other seamlessly.
Learn more about how to make a discord server
Are Discord servers free?
Yes, you may create a Discord server for free. Follow our steps above to make one yourself. You can do it on your computer or smartphone.
Is Discord safe for kids?
Only 13-year-olds may use Discord. If you need to limit Discord for your kid, check settings for Privacy & Safety. You may also check the Discord Safety Center for more details.
What is Discord Nitro?
It’s a subscription service for better features. For $99.99 a month, gain access to better emojis, larger file uploads, and others. Check the Discord Nitro page for more information.
Disclaimer: This article is not the official guide to the Discord server process but is based on the author’s own personal experience.
If you are interested in content marketing, please email Anthony@Inquirer.net.
