Beyond Basics: Mastering the Intricacies of DIY T-shirt Printing
 T-shirt printing has become increasingly popular, allowing individuals to showcase their creativity and personal style. While many may opt for professional services, do-it-yourself (DIY) t-shirt printing is a rewarding and cost-effective alternative. In this guide, we explore how you can go beyond the basics and master the intricacies of DIY t-shirt printing.
Choosing the Right Fabric and Design
When it comes to DIY t-shirt printing, selecting the right fabric and design is crucial in achieving optimal results.
1. Fabric Selection
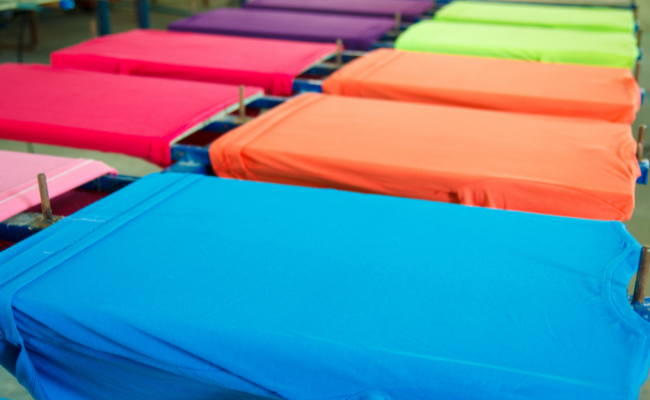
The fabric you choose for your t-shirts can significantly affect the quality of your prints. Look for 100% cotton or a cotton blend with a high thread count, as they tend to provide better ink absorption and durability.
2. Design Considerations
a) Simplicity is Key: Opt for simple designs when starting out with DIY t shirt printing. Complex designs can be challenging to print evenly.
b) Prep Your Design: Ensure that your design is clean and in vector format for crisp results. Transform raster images into vectors or use scalable vector graphics (SVGs) for high-resolution prints without loss of quality.
Prepping Your Workspace & Equipment
Having the right workspace and equipment is essential to create professional-looking DIY printed t-shirts.
1. Clear Workstation
Clear ample space on a sturdy table or countertop to lay out your materials comfortably. Remember that some ink may spill or splatter during the process, so disposable sheets or drop cloths can protect your work surface.
2. Essential Tools & Supplies
a) Heat Press or Iron: Invest in a high-quality heat press machine if you’re serious about DIY t-shirt printing. An iron can work, too, but it might not provide the consistent heat and pressure required for optimal results.
b) Screen Printing Kit or Fabric Markers: Choose a screen printing kit or fabric markers depending on your preferences. Screen printing kits offer more versatility, allowing you to reproduce intricate designs multiple times effortlessly.
Preparing Your T-Shirts Properly

1. Washing and Drying
Wash your t-shirts before printing using mild detergent, without using any fabric softeners. Fabric softeners may create a barrier that affects ink absorption. After washing, dry the t-shirts naturally or tumble dry on low heat.
Read more: How to shrink a shirt – tips and tricks
2. Ironing
Remove any wrinkles from the t-shirts by ironing them before printing. This ensures a smooth surface and enhances print quality.
IV. Printing Techniques and Tips
Now that you have everything prepared, it’s time to explore different DIY printing techniques and some valuable tips for success.
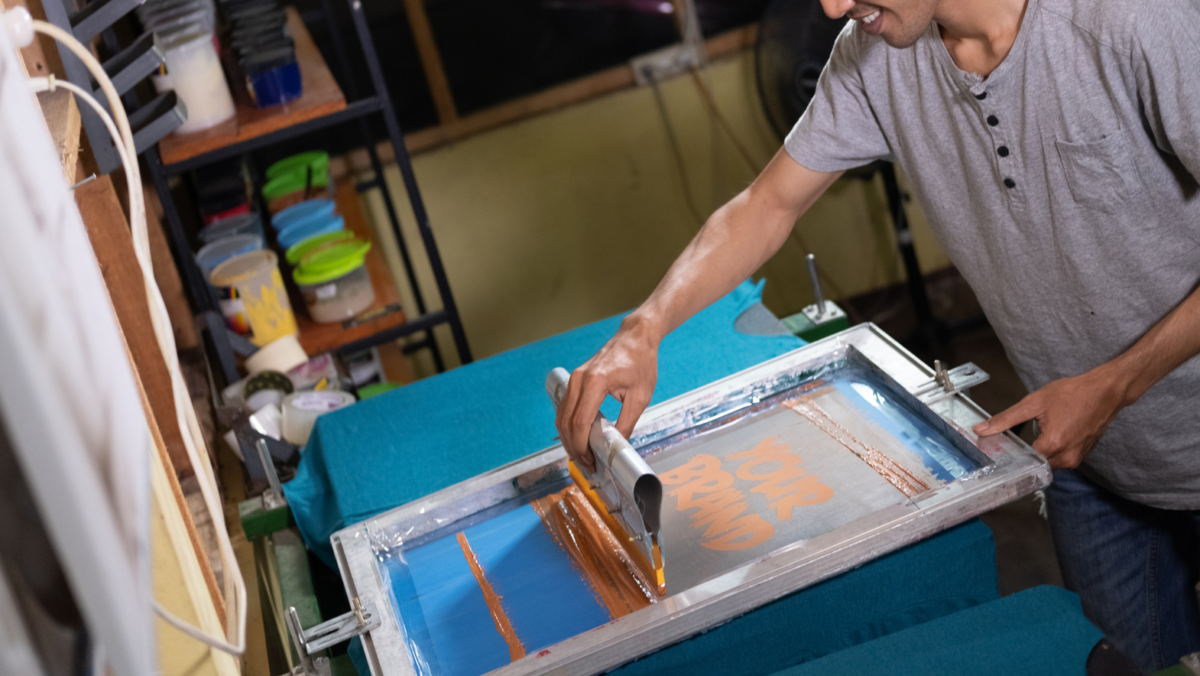
1. Screen Printing Technique
a) Creating a Stencil: Using light-sensitive emulsions or pre-made stencils, create a stencil of your design onto the screen. When pressed gently, this allows ink to pass through the stencil onto your t-shirt.
b) Appropriate Ink Selection: Acquire fabric inks specifically for screen printing to ensure durability and vibrant colors on your printed t-shirts.
2. Heat Transfer Technique
a) Image Transfer Paper Method: Print your design using image transfer paper suitable for heat transfers, trim around the edges carefully, place it face-down on the t-shirt, and apply pressure using a heat press or iron.
b) Cut Vinyl/Premium Plus Method: Designs can be created using adhesive vinyl shapes, which are then applied to the surface of the t-shirt under heat and pressure
3. Essential Tips for Success
a) Test Prints: Always perform test prints on spare fabric or older shirts before attempting new designs to ensure image placement, clarity, proper temperature, and pressure settings.
b) Proper Drying and Curing: Allow the ink to dry thoroughly before removing stencils or transferring the t-shirt. Use a heat press or iron with appropriate guidelines to ensure proper ink curing.
c) Long-Term Care: To ensure the longevity of your DIY prints, wash your t-shirts inside-out in cold water and air dry or tumble dry on low heat. This helps maintain both color vibrancy and fabric integrity.
Conclusion
Embarking on the DIY journey of t-shirt printing brings endless possibilities for personal expression while offering a satisfying craft experience. Select the right fabrics, create clean designs compatible with DIY methods, prepare your workspace carefully, and master various printing techniques. Armed with these tips and techniques, you’re well on your way to becoming adept at DIY t-shirt printing and producing professional-quality tees that reflect your unique style.

