
How to Pierce Your Own Ear Safely
Fashion has changed immensely, and people are adaptable to this change. Ear piercing is one example of a popular fashion trend, becoming a chic way to display your personality. It enhances looks and, for some, boosts self-confidence.
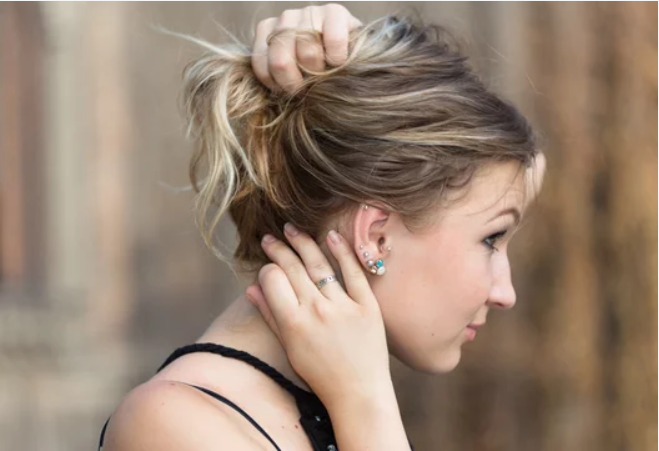
It’s an excellent idea to get your ears pierced and give your ear lobes a more glitzy look, but is it possible to do it on your own? Yes, and we’ll show you how to pierce your ear at home as painlessly and safely as possible.
What You Need to Know about Piercing Your Ears
Although ear piercings are much more prevalent and potentially less dangerous than other body piercings, you still need to know a few things.
Use a Piercing Needle or a Piercing Gun
Always choose a sterile piercing needle when choosing a needle. Once you’ve pierced your ear, the hollow center of the piercing needles makes it simple to put the earring.
Use a needle one gauge larger than the earrings you intend to wear. It works nicely to use 15-gauge needles with 16-gauge barbell studs. Sterilize the needle by holding it over an open flame until the tip is intensely orange-red and always start with pierced earrings before switching to your collections.
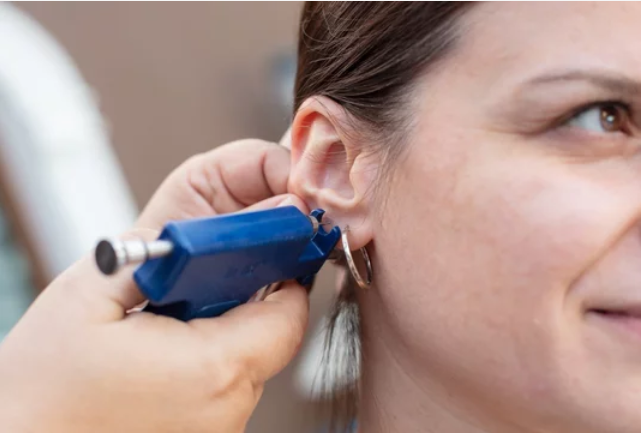
Though they aren’t disposable and not all parts can be sterilized, you can also use piercing guns. Many people prefer getting their ears pierced with a piercing gun because they believe it is faster, cheaper, and less painful. But the truth is, it has a high health risk, takes longer to heal, and is significantly more painful.
A piercing gun’s high-velocity pressure used to force studs through tissue causes blunt force trauma, which could necessitate medical treatment for cartilage or nerve injury, edema, infection, or scar tissue. Personal preference is usually the deciding factor.
Gather the Proper Supplies for Piercing Your Ear
Although the piercing device is arguably the most important factor, you’ll also need to have a few other items before you can begin.
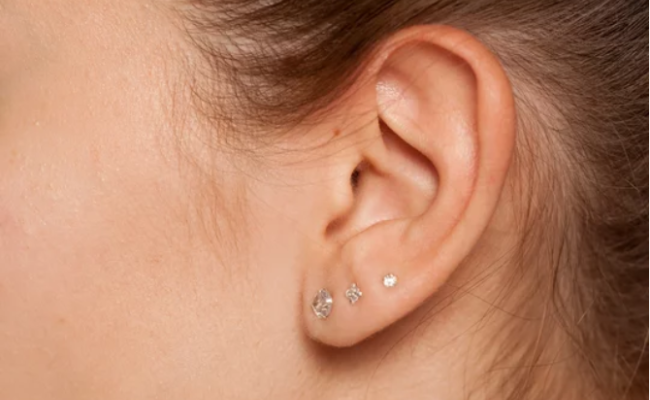
You must decide which pieces of jewelry you will wear during the healing procedure first. Studs work best for freshly pierced ears, whether they are cartilage or lobes. A decent size is 16 gauge and 10 mm long (3/8 inches); the length permits expansion, which can easily increase the thickness of the ear.
Piercing earrings, or earrings with a sharp point like a needle, are sold at some jewelry stores. These are useful because they will re-pierce your ear as you insert them into the hole created by your needle.
Buy higher-quality earrings made of metals like silver, surgical-grade titanium, surgical-grade stainless steel, 14k gold, 18k gold, and niobium if you can. Higher-quality metals are less likely to produce an allergic reaction or an ear infection. Be mindful that some individuals are allergic to inferior metals, such as gold-plated metal.
Also, a clean sponge, a fine-point pen, cotton swabs, or q-tips should be accessible, as should other items like rubbing alcohol, salt water, or saline.
Prepare Your Setup
Before beginning, ensure you have everything ready and begin with clean hands. After washing your hands, put on sterile rubber gloves. Additionally, it would be best to clean the earrings thoroughly you’ll be inserting and the skin you’ll be piercing with either rubbing alcohol, water, soap, or hydrogen peroxide.
To avoid having a piercing that is uneven, high, or low, it is crucial to determine where you want it to go in advance. If you are piercing both ears, mark them and check in the mirror to see if the marks you have produced on your ears are even.
Make sure to leave enough space between piercings if you already have piercings and are getting your second or third one. This will allow you to wear stud earrings in both holes without them touching. Similarly, avoid spacing your holes too widely apart to avoid an unusual appearance.
Pierce Your Ears With the Needle
To avoid unintentionally piercing your neck, you must have something pressed against your ear as you put the needle in. A cork or a cold fresh bar of soap are both suitable options. Even though apples and potatoes are often utilized in movies, avoid them. Any food, including apples, potatoes, and other foods, could include bacteria that could infect a piercing.
The needle should be parallel to your ear lobe. This indicates that it should form nearly a 90-degree angle with the earmark you produced. Placing the needle in this position will make it easier to pass into your ear.
Verify that it passes through the area you marked, and do not panic if you hear a popping sound when the needle passes through. Keep the needle bent at an angle after wiggling it. Thread the jewelry through the needle’s middle if you use a hollow piercing needle.
Place the earring’s shaft inside the hollow tube of the needle after you’ve already safely pierced your ear, and then push the needle through your ear. The earring will then be able to rest comfortably in the opening.
Make sure that the earring remains in place as you slowly withdraw the needle from the ear. Be mindful that this will probably hurt, but try not to rush it because you don’t want the earring to come out and have to go through the piercing procedure again if that happens.
Remember that leaving the piercing hole without an earring could close up in minutes. Resterilize your earring as soon as you can when it slips out, and try to reattach it to the hole. You might need to pierce your ear again if it doesn’t go through the first time.
Do Proper Piercing Aftercare
Don’t take out your earring. When the six weeks are up, you can change the earring, but do it immediately with a different one. When you leave the hole without an earring, it frequently takes six months to a full year for it to take shape and not close up properly.
Clean your ear with warm salt water. Use cotton wool, Epsom salt, or sea salt instead of regular table salt. The salt deodorizes the piercing and prevents infection of the wound. Up till it is entirely healed, clean the piercing. Once the ear has been pierced, avoid using rubbing alcohol.
Don’t twist or play with the earrings; try not to lay directly on the piercings. Just let it heal on its own; don’t interfere. Of course, you should visit a doctor if you have an increase in swelling, redness, or soreness around the piercing, swollen lymph nodes, or discharge close to the piercing.
Conclusion
When it comes to jewelry, earrings are at the top of the list, and getting multiple piercing holes in your ears is now stylish and stylish. Many people want to know how to pierce their ears safely, but you should also know that it is advantageous because it stimulates the nearby nerve area. The best and recommended piercing method is using a piercing needle because it heals fast and has less risk.
